
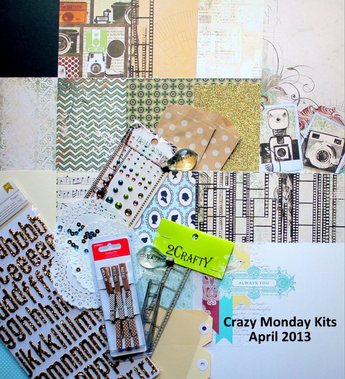
 This photo I have taken from the Crazy Monday Kits website. Check them out. It is a NZ based scrapbooking kit company that I have been subscribing to for the last three months. This is April's Kit - 'Picture Perfect'. I have blogged a review of it today. Read on below... I have had the craziest few days. My car had a petrol leak, which is potentially very dangerous. Luckily the local mechanic came to my rescue on his day off! It turned out that when I got a tether put into my car for a child car seat the firm had put a hole in my gas tank :( As my local garage couldn't do it, I had taken it into the city to get it done. Now here I was back in the small town that I live in and unable to return it to them for repairs due to the safety risk. Thankfully for me the two mechanics talked it out between them and my local garage fixed it and sent the bill to the hole-making mechanic. Meanwhile I had a day of carer support work in the city - which is a 45 min drive away from my house... Luckily for me when I rang the in-loves they were also heading into Dunedin. They came out, picked me up and dropped me off for my day of work only 45 mins late. Yay. I then needed to stay at my client's house the night, get a ride with the parent's into work the next morning and wait in the local library until Ma came in for an appointment late that afternoon. When I finally got home last night I was so glad to be back and was so looking forward to having a bath and listening to an audio book to relax. I got up to my back door and the courier had wedged the pizza box, that my scrapbooking kit comes in, under my back door handle. Squeee. How exciting! Unfortunately I was too tired to even think of opening it then. Luckily for me I have schedule Tues nights as scrapbooking night so I can have a play this evening! 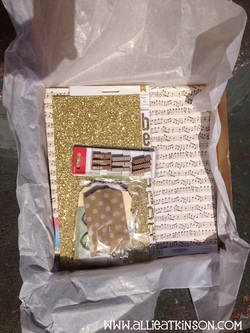 This is what I saw when I opened the box. Crazy Monday April Kit. I was a little hesitant when I saw this kit. I don't like bulky embellishments and I don't like browns much. However I do like cameras so I was looking forward to really looking at the papers in detail. There was one paper that I was so excited to use and I had planned a page around it already. It had Fuchsia on it and i was so excited to add this colour into the kit to go along with the gorgeous aqua and teal highlights. I will alter the pegs perhaps and use them to create a inspiration board in my studio. 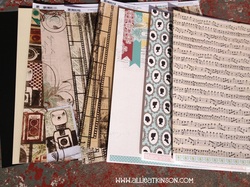 The first disappointment came when I looked at the first side of papers. On the computer one of the papers looked have fuchsia, aqua and yellow banners. Unfortunately it was more of a wine brown. This looks like a kit that would be great for men though (and people who like brown!) 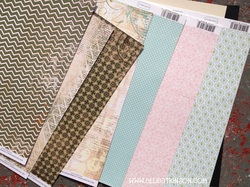 I don't really have men in my life that this kit would be ideal for, so I will see what I can do with it. Maybe I will get around to doing some extended family photos, or maybe as a travel papers? Still I was really excited to see a pink paper. That will definitely get used. The colours are just so blah in real life. I am really into vibrant colours. 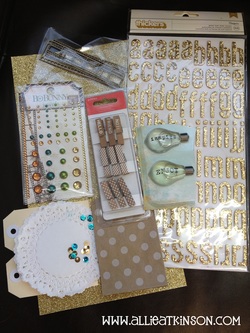 The various Embellishments that came in the kit this month: -1/2 sheet American Crafts Gold Glitter cardstock -Pebbles “Walnut Grove” pegs -Bo Bunny “MamaRazzi” jewels 2 x Tim Holtz trinket light bulbs -2Crafty Chipboard filmstrips -Whisker Graphics tiny bags kraft -3 x Freckled Fawn doilies -2 x shipping tags -Gold and Teal sequins Along with the alphabet - American Crafts Thickers “Maggie Holmes Gold” In case these really are your colours -the 2 cardstock and 7 papers were: 1 x American Crafts vanilla cardstock 1 x American Crafts black cardstock 1 x Bo Bunny “MamaRazzi” – “MamaRazzi” double sided patterned p 1 x Bo Bunny “MamaRazzi”- “Balance” double sided patterned pp 1 x Bo Bunny “MamaRazzi”- “Shutterbug” double sided patterned pp 1 x Bo Bunny “MamaRazzi”- “Tripod” double sided patterned pp 1 x Carta Bella “So noted”- “Always You” double sided patterned pp 1 x Carta Bella “So noted”- “Music Score” double sided patterned pp 1 x Carta Bella “So noted”- “Anique Silhouette” double sided patterned pp Conclusion?All in all this is not my cup of tea. I think the kit is beautiful and so well put together, but just not my style. That is kind of the point of trying out kit clubs though. New product, a new way of seeing things put together and the chance to see what you can do with it. Perhaps after I had bits and pieces to 'me' it up, I will have a kit that I am really excited to play with. I am so glad that I trialled the kit club for the last three months, but I will not be renewing. It has really been boosting my excitement and the amount that I am scrapping so I am very grateful for that! I would have loved to have got a position as a guest designer but alas I missed out. I have ideas brewing in my head though, so watch this space for what I come up with.
Next blog post, I will show what additional items I decided to add to make it more ME and easier for me to scrap with... Allie x
1 Comment
This is one of my favourite Layouts in a while. I am working on a painting and misted a part of it with a butterfly mask. There was a lot of leftover ink on the mask so I grabbed the top paper in my section white papers and pressed it into the ink. I loved the pattern that it left, complete with paint transfer on the top of the paper. I put it aside to dry and decided to create a LO with it on the next Tuesday Night Scrapbooking Session (I am making a commitment to regularly scrapbook. I have an ISCA training call in the afternoon and I am always buzzing with excitement and energy on Tues night so picked then to be creative). This Layout came together really quickly while I listen to an audio book. 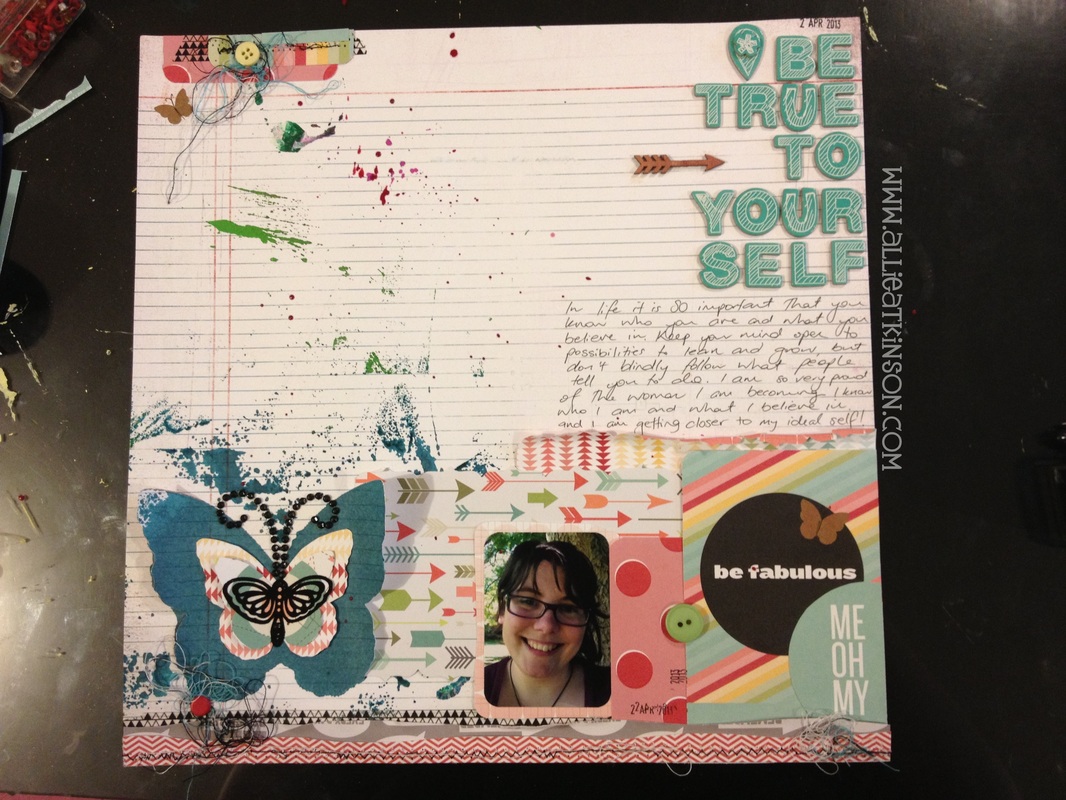 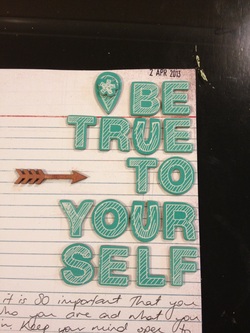 I am still loving this set of Thickers! The colour, the scribbling, the size. Oh My! I put the geo tag on as a reference to the fact that be we need to be ourselves, that it is a place to be all the time, rather than a destination to strive for! I am also loving the date stamp at the top. I had a large one, but I found this at my friend's place when I was helping him tidy his office. I told him how much I loved it and he said that he never used it so I could have it. YAY. Now every time I use it, I think of him and his family (the reason I was there in the first place was that his wife had just had a baby! Yay) 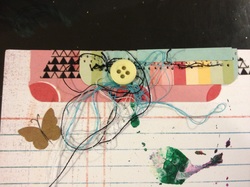 I love this random layering! I first saw this messy thread nest technique done by Lisa at RecklinghausenMusings. I decided to give it a go and I am so glad that I did. Most of this page was from my kit, but I added the butterflies and thread from my own stash, along with the two buttons and brad that I used. 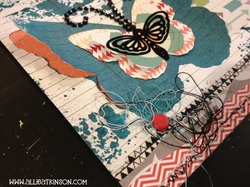 The butterfly that inspired everything stayed being a major focus on the page. I loved what I did with it. I used the mask to cut out parts of the wings for a little dimension and I layered paper underneath. I used two smaller of the misting masks to create other butterflies to layer. I had a black velvet butterfly in my stash that I then put on the very top. Each layer moves to reinforce the being-free theme (that is a very strong need of mine!) Finally I had some crystal swirls left over from a 21st so I cut them into antenna to top the butterfly. I added another thread nest to the bottom and added a red brad button to bring the red back onto this side as it was quite heavy on the right. The bottom strip is two free hand cut paper strips stitched down with the washi tape layered under it. I am so very happy with the outcome!
|
Allie AtkinsonA recently engaged girl in her mid-thirties living and loving life as best she can. Passionate about health, art and personal development with a side order of getting organised. A business woman, a sexual authenticity coach and a mixed-media artist. Archives
October 2015
Categories
All
|
 RSS Feed